Tracks
Overview
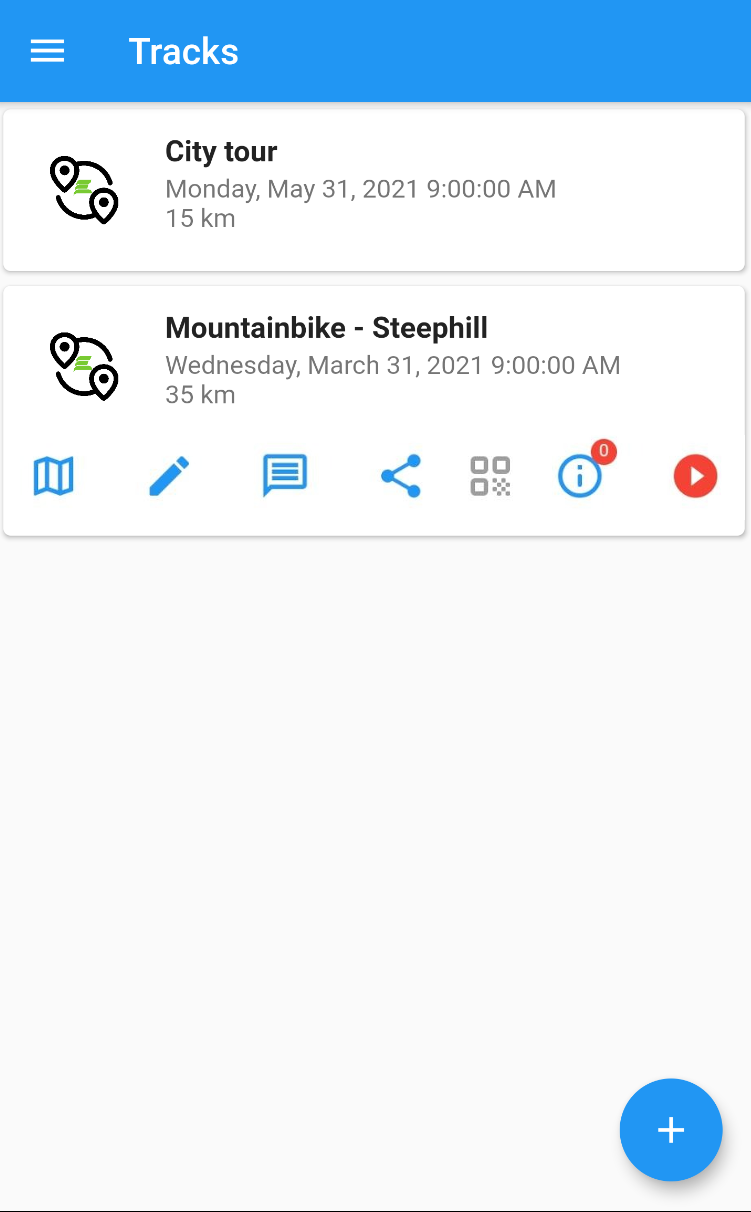
This is the default start screen of the App. It gives an overview of all the tracks that have been or still need to be covered. Tapping on a track displays a context-menu.
By swiping a track from left to right, or vice versa, a track can be deleted.
Use the button on the bottom right to add a route.
Add tracks
After a ticket has been purchased from the event organiser and the eticket has been downloaded, the track can easily be added by scanning the PDF file that has been downloaded for a valid eticket.
If the PDF file contains more than 1 ticket, the App will ask which page is to be scanned. If there is only 1 ticket, this step is skipped.
If the event offers several tracks with for example different distances, the App offers the possibility to choose a track.
If there is only one track, this step is skipped.
Warning
Tickets can be downloaded several times. If this happens on different phones, the one who has downloaded last is the ‘owner’ of the ticket. All actions to have the ticket scanned or passing a checkpoint uploaded to the event organisation’s server will fail for the one who downloaded the ticket earlier.
So be careful not to distribute the ticket but to keep it for yourself.
If you want to download the track again, you will have to delete it first.
Note
For example, if an event offers several tracks of different distances, they can all be downloaded one by one. However, only one track can be recorded at a time.
Recording
A live recording of a track can only be done during the event. The tracking window can be found in the information screen. Before and after the event, no recordings can be made. The icon is grey and inactive.
When a live recording is started, the icon will change to a pause button and the background of the recorded track will turn transparent red, so that you can clearly see in the overview which track is being recorded.
You can pause recording and restart it. For example, if you take a break on your route, it is a good idea to stop recording in order to save the battery.
Warning
Only one track can be recorded at a time.